by ivc 2005-08-24
There are two formats when encoding video for the K750; MP4 and 3GP. Both are containers that can hold a mix of video and audio formats. Usually for 3GP it's H.863 video and AMR audio and for MP4 it's usually MPEG4 video and AAC audio.
Because of the restrict 3GP/MP4 specifications for mobile devices, you can only use the maximum resolution of 176 x 144 on the K750. Framerate and bitrates can be changed without much restrictions, but very high bitrates will result in shutter and possibly fail while playing back the file.
There are a few programs that will let you do everything in a single process, but these programs are usually limited and the final quality of the video isn't always the best. As many probably are aware of, the XviD codec is currently the most popular open and up to date codec you can get when you want high quality video and at the same time small filesizes. VirtualDub is a great open source video editing tool that you can use for simple linear video operations like adding filters, changing the framerate, split and re-encoding video.
Software used:
The settings below are used to get the best possible quality and not to save space. The maximum (video+audio) bitrate the K750 can handle is around 264 kBit/s. If you up the framerate you need to lower the bitrate accordingly. Otherwise it will shutter when in full screen or stop playing when there's to much going on. It all depends on the content you are going to encode. With cartoons you can lower the video quality and up the sound or with movies lower the sound quality and up the video quality. Use these settings as a base and experiment on your own. Find what works for you and what requirements you have. The K750 media player and the sub-systems are in no way perfect and you have to make comprimises.
The bitrate has a huge impact on the filesize while changing the framerate and sample rate has minor impact.
I'm going to use these settings in this guide:
Normal - bit choppy with 15fps, good video quality, ok audio:
|
Good - plays pretty smooth, average video quality, ok audio:
|
Smooth - smooth playback, blocky video, good audio:
|
There are also loads of other working settings, check the links in the reference section below.
Tested on a SE K750i with R1L EU4 software and played in full screen from a Sandisk 1 GB memorycard.
These are the basic steps I'll describe below:
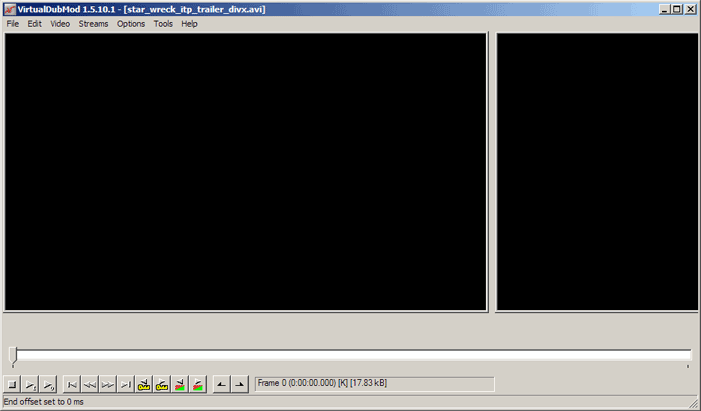
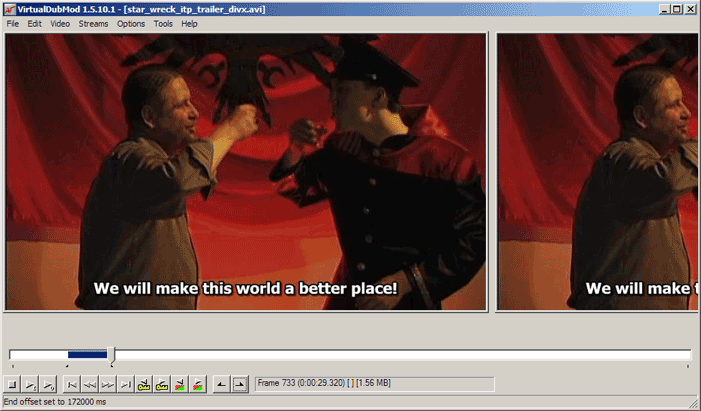
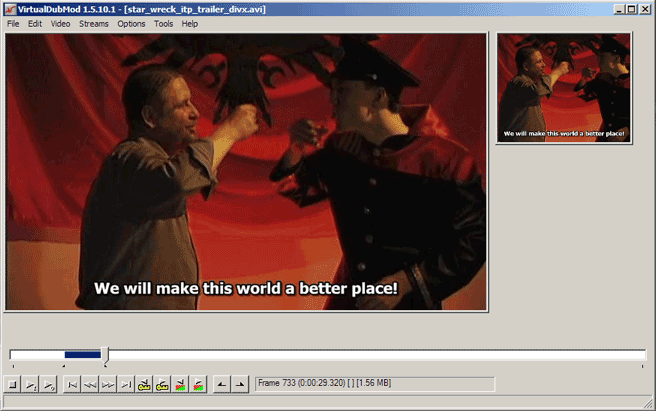
After extracting VirtualDubMod and installing the XviD codec, open VirtualDubMod, select open file and pick your video file.
Trim the video using the right-most hooks at the bottom. The left hook marks the start and the other the end.
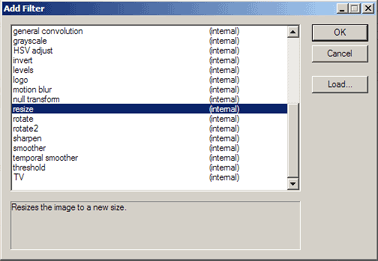
Go to the Video -> Filters... and click the "Add..." button. Scroll down and select the resize filter. Click ok.
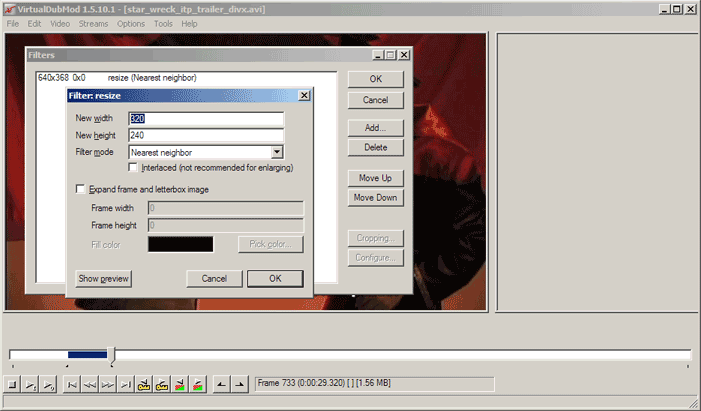
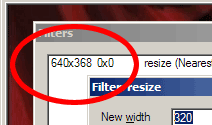
This is where the new dimensions for the video is entered.
Now you need to decied if you want to cut the left and right sides of the video or add black bars above and below the video. The reason you need to decide this is because the frame aspect ratio on the phone is different from regular 4:3 and 16:9 aspect ratio (width:height) you find on TV and DVDs.
To understand how to calculate the new frame size and aspect ratio, you need to understand the different ratios:
|
|||||||||||||||
Note: If you are resizing new clip, remove the previous cropping values to get the proper source video size of the new clip.
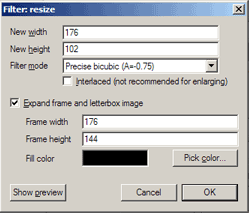
Lets say you have a 16:9 video and you don't want to cut the sides. To figure out what the new height should be (width is already 176), you need to divide 176 by the horizontal ratio aspect for the source video, in this case 0.58 (368 / 640). Result should be 102 (176 / 0.58).
Enter 176 in "New width", 102 in "New height" and select "Precise bicubic (A=-0.75)" in "Filter mode" to get the best resize quality. Check the "Expand fram and letterbox image" box and enter 176 in "Frame width" and 144 in "Frame height" to add the black bars at the top and bottom (else it won't play on the phone).
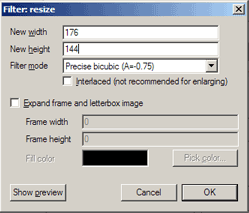
If you want to fill the entire screen and not waste space on black bars, you need to crop, or cut, the frame. But first you need to prepare the frame size, in the "New width" enter 176 and in "New height" enter 144. Select "Precise bicubic (A=-0.75)" from the "Filter mode" dropmenu. Uncheck the "Expand frame and letterbox image". Click ok.
Now click the "Cropping..." button on the right side and should see this screen. Use the slidebar at the bottom and move it to the middle of the video clip, this makes it easier to work with and you see what you cut.
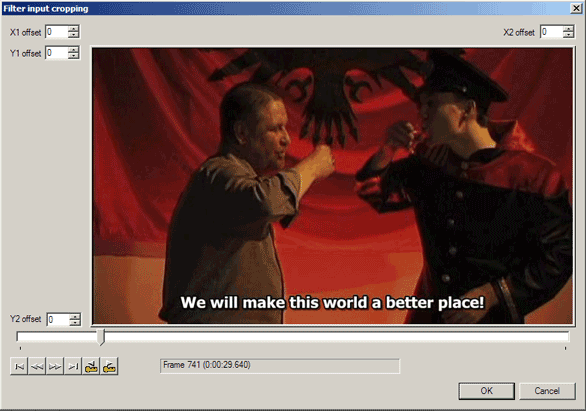
To find how much to cut from each side you need to multiply the height of the original source video with 1.21 (phone vertical aspect ratio). This will get you the new width, in this case 445 (368 x 1.21). The aspect ratio is now correct (445 / 368 = 1.21). Now you need to find how much to cut away from the sides by substracting the new width from the original source video width, in this case the result is 195 (640 - 445). Divide this by 2 to find how much to cut from the left and the right side, here 98 (195 / 2).
Enter 98 in the "X1 offset" and "X2 offset" fields. Click ok to exit cropping and click ok once again to exit filters.
Resizing and cropping is now finished. You see a preview of the new resized frame at the upper right-side on the main screen.
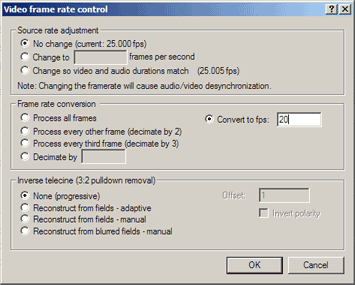
Next, framerate. Goto Video -> Frame Rate... and under the "Frame rate conversion" header, select the "Convert to fps" radio option and enter 20. Click ok.
Next, compression. Goto Video -> Compression... and "XviD MPEG-4 Codec" should be available at the bottom of the list. Click "Configure".
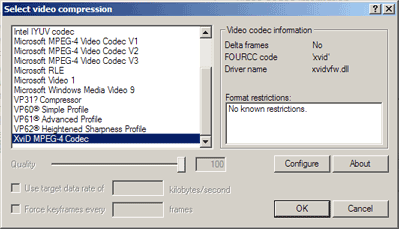
This is the individual XviD codec configuration dialog. Click "Load defaults" to clear out any previous settings.
Since we're going to encode video for a phone you need to select the "Simple @ L3" profile from the "Profile @ Level" dropmenu. Leave "Encoding type" at "Single pass" to produce a video with constant bitrate, you might try "Twopass" if you're familiar with it. To enable the bitrate selection, click the "Target quantizer" button and it should change to "Target bitrate (kbps)". Enter 130 in the field next to button. Everything else can be left at default. Click ok to exit the XviD config and ok once again to exit the compression selection.

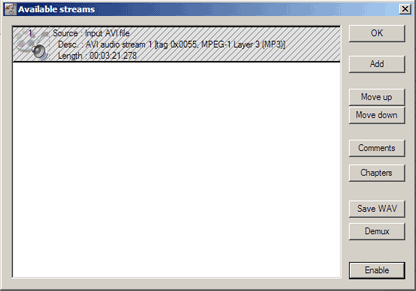
Now disable the audio stream by going to Streams -> Stream list and select "Disable" in the lower-left corner. Click ok.
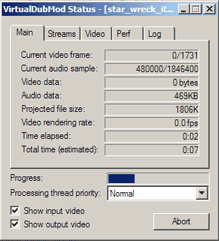
Make sure Video -> Full processing mode is selected. All the essential VirtualDubMod settings are set up. Select File -> Save as... and enter a filename, e.g star_wreck_itp_trailer.avi. Put it in a new folder. Click ok and wait for the encode process to finish.

To save the audio stream, select Streams -> Stream list, click "Save WAV" and use the same filename you used for the video, e.g star_wreck_itp_trailer.wav. Put it in the same folder you put the video file. Click ok and wait for the progress to finish. Note that it only saves the stream, the format is still the same (MP3, etc).
Open Quicktime Player and select File -> Open Movie in New Player. From the "Files of type" dropmenu, select "Audio Files", browse to the folder where you saved the audio file and open the file.

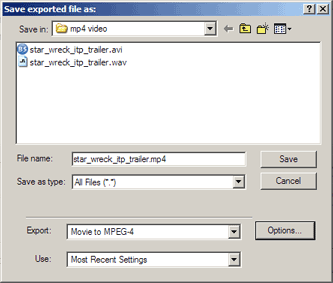
Select File -> Export... and in the "Export" dropmenu select "Movie to MPEG-4". Click "Options".
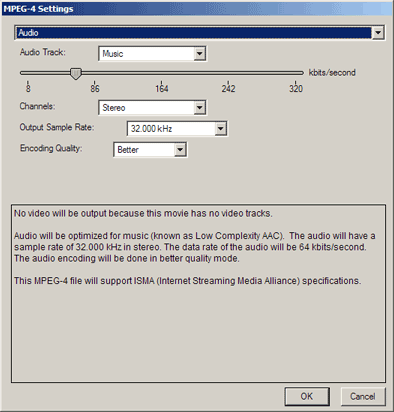
In the MPEG-4 settings dialog, select "Audio" from the dropmenu at the top. This is where you select the audio bitrate. Slide the bar to the left or right and watch the description below to see what bitrate is selected. Stop when the bitrate is 64 kbits/second. "Channels" should be "Stereo", "Output Sample Rate" should be "32.000 kHz" and "Encoding Quality" should be "Better". Click ok.
Save the file in the same folder you saved the other files. Use a filename with the ending ".avi-aac.mp4" to make use of the batch script later on, e.g star_wreck_itp_trailer.avi-aac.mp4. Click save.
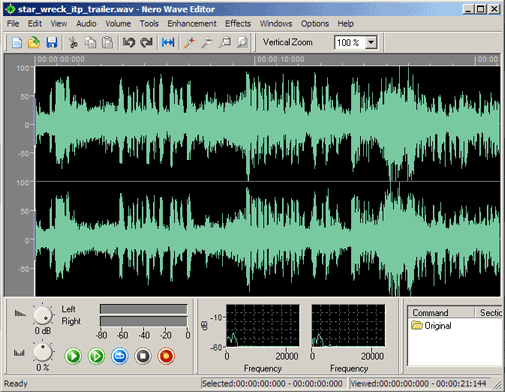
After installing Nero 6, launch Nero Wave Editor and open the audio file you saved in the step above.
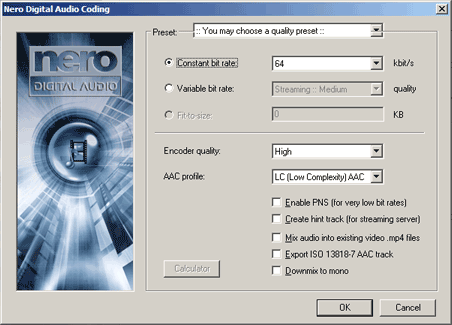
Now just select File -> Save as... and pick "Nero Digital Audio (HE-AAC)" from the dropmenu. Click "Options...".
This is the Nero Digital Audio configuration. Select 64 from the "Constant bit rate" dropmenu, "Encoder quality" should be left at "Hight" and in the "AAC Profile" dropmenu select "LC (Low Complexity AAC". All the checkboxes at the bottom should be unchecked. Click ok.
Save the file in the same folder where the other files are located, name the file something with the ending ".avi-aac.mp4", e.g star_wreck_itp_trailer.avi-aac.mp4. This comes handy if you want to try the batch script below. Click save and wait for the process to finish.
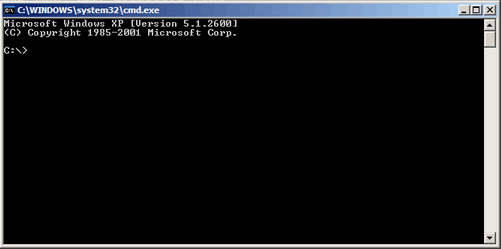
Before we can merge the video and audio, the XviD video file needs to be ISMA compatible (part of MP4 specifications). MP4Box is a command-line application and you need to open a command-prompt, Start menu -> Run... -> cmd and press enter.
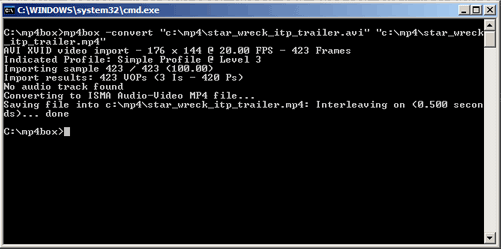
Browse to where mp4box.exe is located, e.g cd c:\mp4box\. Now execute mp4box -convert <XviD AVI file> <output MP4 video file>. If there are spaces in the folder or filename, use quotes ("") around the file.
This is the last step. Merging the AAC audio file and ISMA compatible MP4 file. Execute this line mp4box -merge <MP4 video file> <AAC audio file> <output MP4 file>. If there are spaces in the folder or filename, use quotes ("") around the file.
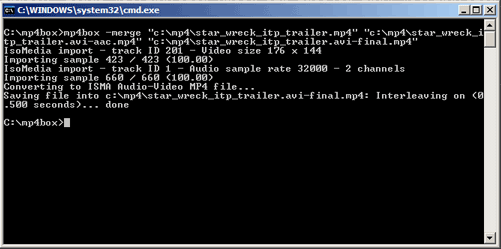
(take note of the "-final.mp4" ending, used in the batch file below)
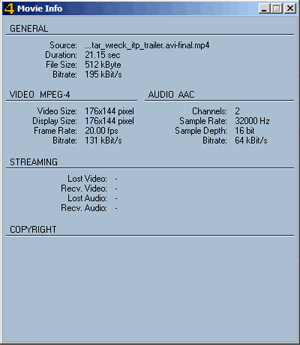
Congratulations! You now have the knowledge to produce quality MP4 files for your phone. Open the merged file in Mpegable Player and select File -> Movie Info. You can see that the overall bitrate is 257 kBit/s, video 193 kBit/s and audio 64 kBit/s. Copy the file to your phone over USB or Bluetooth and see how it works :)
To make the two last steps easier you can use the very simple batch script i created. Essentially what you do is dropping the ".avi" XviD file on the ".bat" file icon and the process will begin.
Download this file, or copy and paste the code below into a file called something like "mp4box-batch.bat". Remember to edit the path to the mp4box.exe file.
@echo off
rem -dropped input file e.g my-xvid-video.avi
rem -convert: output mp4 file ends with .mp4
rem -merge: input mp4 video ends with .mp4 (from above)
rem -merge: input aac audio ends with -aac.mp4
rem -merge: output ends with -final.mp4
set mp4box="C:\Program Files\mp4box\mp4box.exe"
echo.
echo Converting XviD into ISMA compatible MP4 video:
echo.
%mp4box% -convert %1 %1.mp4
echo.
echo DONE!
echo.
echo Next, is the "-aac.mp4" audio file ready?
pause
echo.
echo Combining AAC audio file and MP4 video file:
echo.
%mp4box% -merge %1.mp4 %1-aac.mp4 %1-final.mp4
echo.
echo DONE!
echo.
pause
Why do I get this error: "Both files have audio tracks"?
You didn't disable the audio stream when encoding the video.
How can I open Quicktime files in VirtualDubMod?
VirtualDubMod is not compatible with QT files. You need to export the video to another codec first.
I trimmed the video a second time and now the audio is way out of sync, why?
You probably forgot to export the audio after you moved the trim marks.
2005-08-24 Initial version done